How to Use the 3D Printer Pokémon Pokopia: A Complete Guide
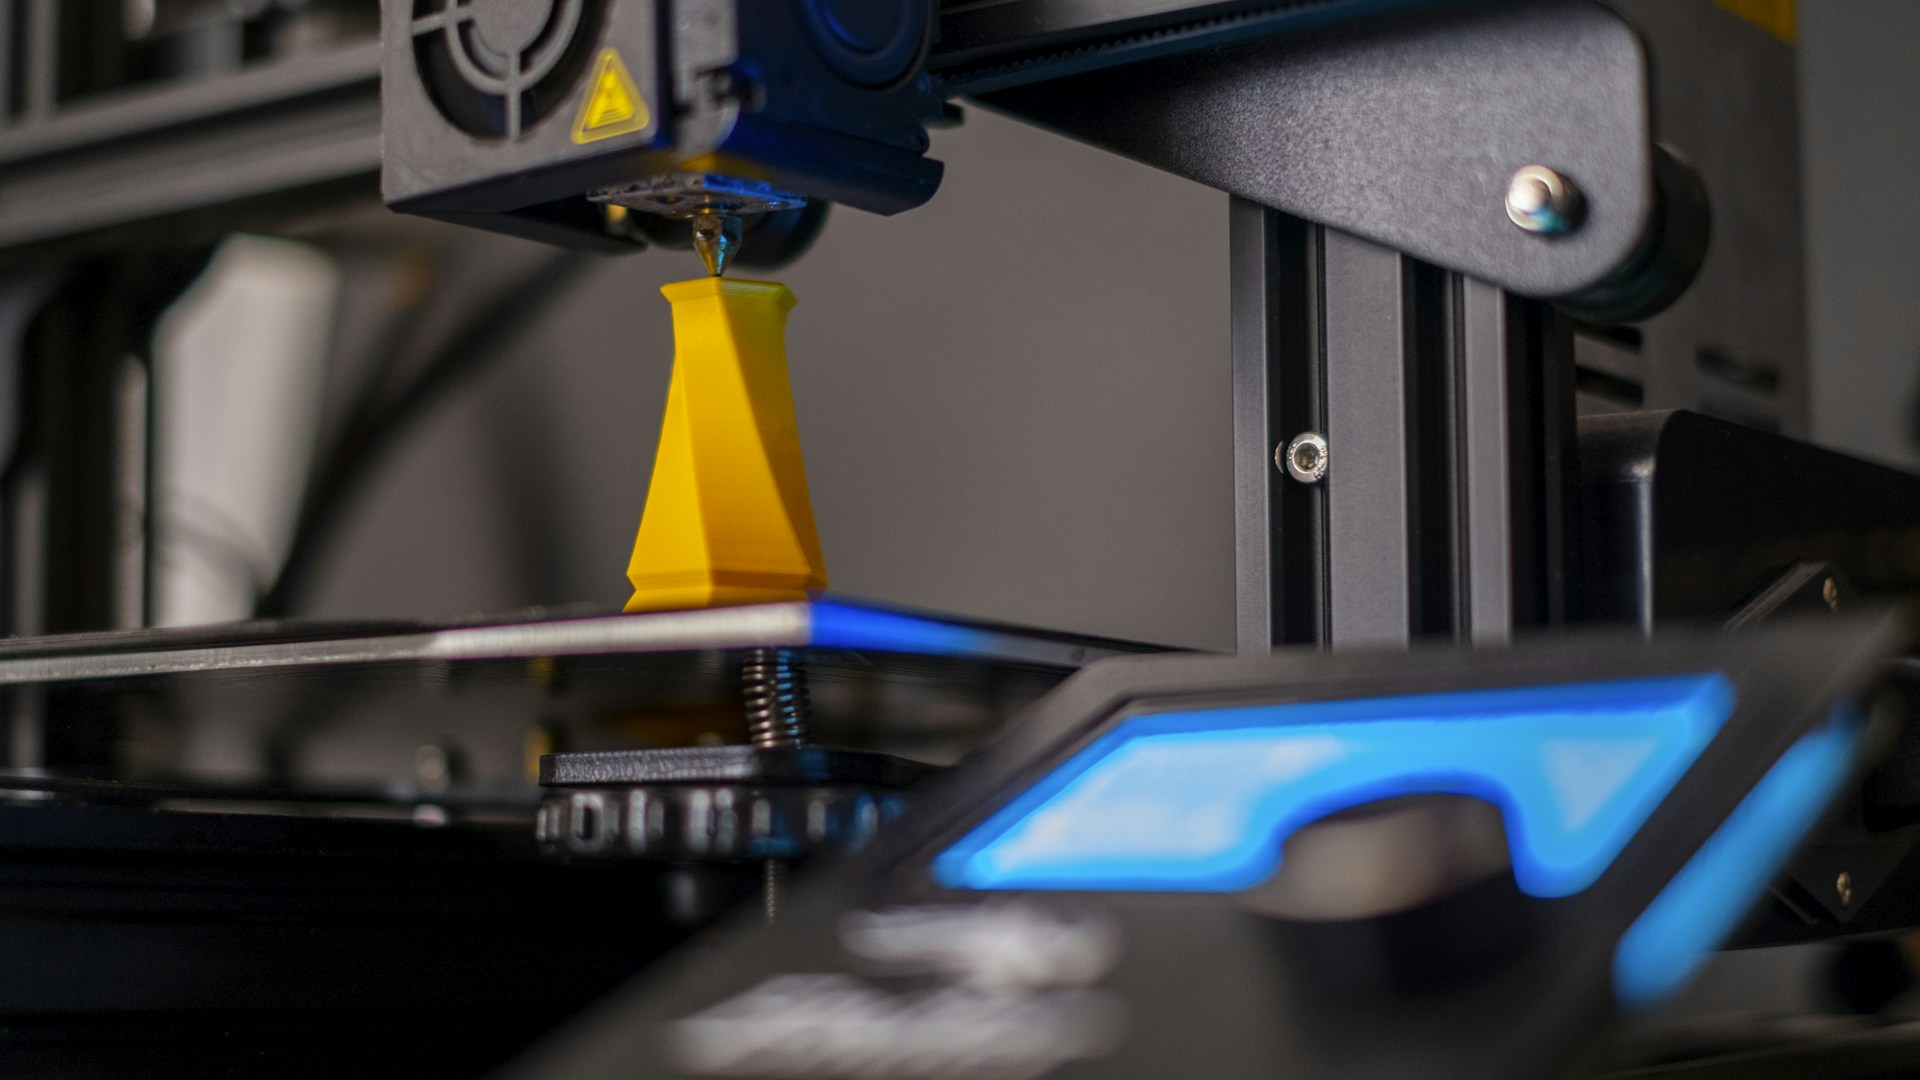
Table of Contents
Introduction
If you’re a fan of Pokémon and you love to create, the Pokémon Pokopia 3D Printer is an exciting gateway into merging fandom with 3D printing creativity. This unique printer not only allows you to bring your favorite Pokémon characters to life but also offers a user-friendly experience for both beginners and seasoned makers.
Bottom Line: The Pokémon Pokopia is your go-to choice for fans wanting to print colorful Pokémon models with ease.
Getting Started with Pokémon Pokopia
The Pokémon Pokopia 3D Printer distinguishes itself with its vibrant design and ease of use. At approximately $249, it’s priced competitively for entry-level 3D printers, making it an accessible choice for hobbyists.
Key Features:
- Build Volume: 200 x 200 x 200 mm, fitting moderately sized Pokémon models.
- Print Technology: FDM (Fused Deposition Modeling), ideal for beginners.
- Nozzle Diameter: 0.4 mm, standard for detailed prints.
- Printing Speed: Up to 60 mm/s, ensuring timely projects.
- User-Friendly Interface: Touchscreen controls for easy navigation.
- Connectivity: USB and SD card options for easy file transfers.
Setting Up Your Printer
-
Unpack Your Printer: Carefully remove the Pokopia from its packaging and set it up in a well-ventilated area on a stable table.
-
Assembly: The Pokopia usually comes partially assembled, requiring minimal assembly time of about 30 minutes. Follow the included manual for straightforward assembly instructions.
-
Level the Bed: Proper bed leveling is crucial for a successful print. Use the adjustment knobs to ensure that the nozzle is at the correct distance from the print bed.
-
Load Filament: The Pokémon Pokopia works predominantly with PLA filament, which is user-friendly and available in various colors suitable for Pokémon models.
-
Connecting to Software: Use software like Cura to prepare your 3D models. Cura allows you to slice your model and adjust settings for infill and layer height.
Choosing Your 3D Models
A plethora of Pokémon models can be found on 3D printing sites like Thingiverse and MyMiniFactory. When selecting a model, ensure it is compatible with the printer’s build volume—models typically under 200 mm are the safest bet.
Printing Your First Model
-
Select a Model: Let’s say you want to print a Pikachu figurine. Download the STL file and import it into your slicing software.
-
Slice the Model: Adjust settings in Cura according to your preferences (default settings are usually sufficient for new users).
-
Export the File: Once the slicing process is complete, save the file to your USB or SD card.
-
Start Printing: Insert the USB or SD card into the Pokopia, select your model on the touchscreen, and press the print button. Watch as your Pokémon starts taking form layer by layer!
Tips for Successful Printing
- Temperature Settings: Keep an eye on the nozzle temperature; PLA typically works best at around 190-220°C.
- Print Speed: Slowing the print speed to 40 mm/s can help achieve better detail in your models.
- Post-Processing: After printing, use a hobby knife to carefully remove support material and sand down rough edges for a polished finish.
Comparison with Other Entry-Level 3D Printers
If you’re considering options, here’s how the Pokémon Pokopia stacks up against some other popular models:
| Feature | Pokémon Pokopia | Creality Ender 3 | Anycubic i3 Mega |
|---|---|---|---|
| Price | $249 | $189 | $249 |
| Build Volume | 200 x 200 x 200 mm | 220 x 220 x 250 mm | 210 x 210 x 205 mm |
| Nozzle Diameter | 0.4 mm | 0.4 mm | 0.4 mm |
| Touchscreen | Yes | No | Yes |
| Assembly Required | Minimal | Moderate | Minimal |
Who This Is For
The Pokémon Pokopia is perfect for:
- Pokémon Fans: If you want to see your favorite characters in real life.
- Beginner Makers: The user-friendly interface and solid support community make it a good starting point.
- Gift Givers: At around $249, it’s a great gift idea for anyone interested in DIY and 3D printing.
Who Should Skip This
You might want to pass on the Pokopia if:
- You’re an Experienced User: If you desire advanced features and extensive customization options, you may prefer higher-end models like the Prusa i3 MK3.
- Space Constraints: If your workspace is limited, consider a compact printer as the Pokopia requires a bit of room due to its build volume.
Final Thoughts
The Pokémon Pokopia 3D Printer is an excellent entry point for fans and DIY enthusiasts alike. With its vibrant design, easy assembly, and efficiency, it stands out in a crowded market. For just under $250, you can explore the wonderful world of 3D printing and create delightful Pokémon models to show off to friends or add to your collection.
Don’t wait! Grab your Pokopia and start bringing your favorite Pokémon to life today!